Saturday, October 29, 2011

Hemming Jeans

I'm an average height, pear shaped gal.  I dreaded the day skinny jeans came back in style.  I miss straight-leg jeans.  Please, please come back.

Pants are always a challenge and jeans are a nightmare with their unflattering thighs and baggy waists.  I'm a thrifty gal, but I'll pay anything for a decent-fitting pair of jeans.

Did you read that?  ANYTHING.

So I was pretty excited when I found a like new pair of jeans at a local consignment shop for $20. 

They would be perfect...if I was 5'9".


I bought them anyway, ran them through the wash and blasted them in a hot dryer.


Still too long and sloppy, even for my high-heeled boots.

I remembered seeing a tutorial on how to hem jeans and keep the original factory hem.

And it worked.  It was so easy!

First, determine how much you need to raise the hem.  For this pair of jeans, it was 1 1/2 inches.

Divide that number in half, which is 3/4 inch.  This is the number you will use in the next step.

Cuff the jeans, measuring from the original hem, and pin around the leg opening.  A sewing scale speeds things along with this step.


Using a denim needle and a zipper foot, stitch as close as possible to the original hem without sewing on top of it!  If you machine has a left-right needle adjustment, use it to get really close to the hem.


Finger-press the seam, then try on the jeans before starting the other leg, just in case you need to make any adjustments.

Repeat on the other side, try on the jeans one more time to make sure they are the correct length, then press the seams with an iron.  In order to avoid shiny denim, iron from the inside of the pant leg and avoid directly ironing the top crease of the cuff.


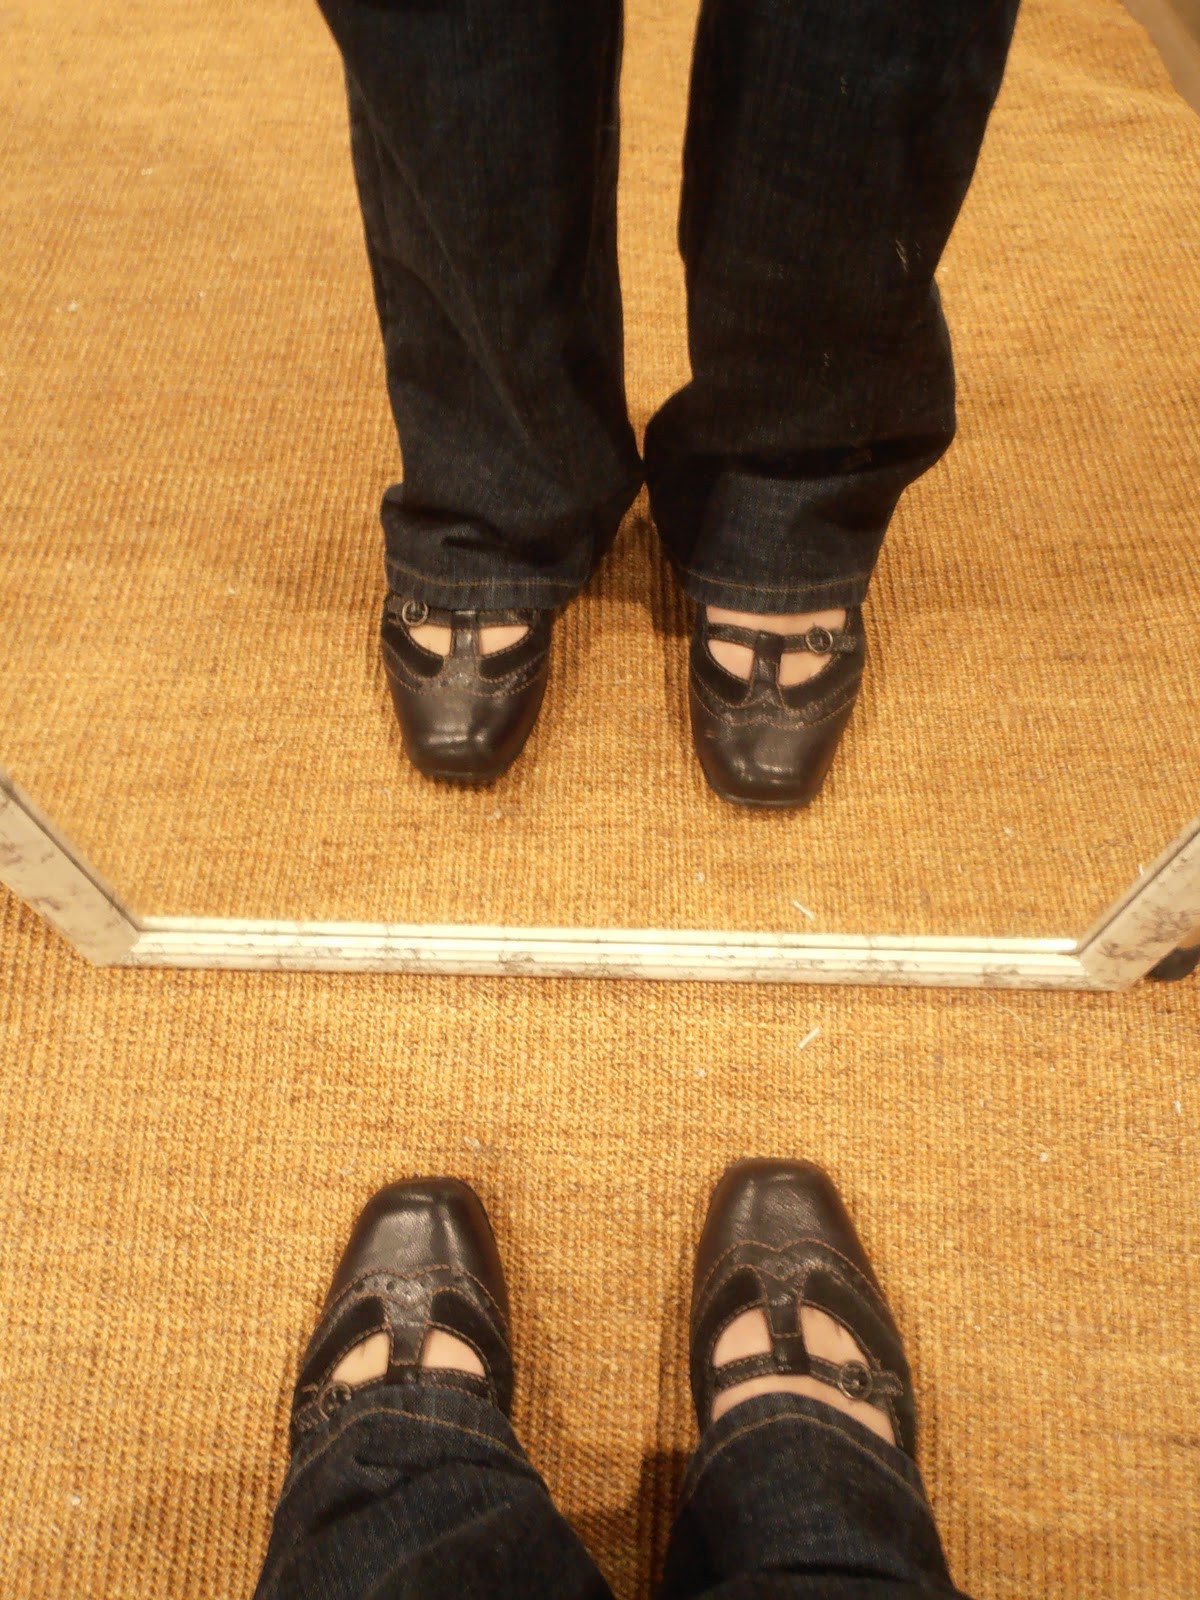
Admire your favorite shoes since you can see them again.


You can fire your tailor now.


I'm linking up...


Monday, October 17, 2011

Wreath-less

I only use a wreath for a few weeks around Christmas because the birds always build nests in it.

They don't build nests in this metal hanging vase.


I left some of the plastic succulant from this summer's display when I overhauled the arrangement for autumn, and I really like the constrast against the oranges and yellows.

Thursday, October 13, 2011

Preparing for Autumn

Considering autumn is my favorite season, I really didn't dive into fall decorating this year.

I think I was in revolt against some of the neighbors that put their Halloween decorations out early in September.

We're talking witches hanging from trees on Labor Day.  That's just wrong.

But the trees are bursting into their glorious colors, the days are considerably shorter, and I'm ready to bring the colors of fall into our home.

Since the mantels are already full, I decorate the sideboard in the dining room instead.


I'm keeping things simple this year, like this mini pumpkin perched on a candle holder with a little Spanish moss.


See that brown suede box in the background?  That's where I stash the chocolate.  Shhh!

I found this little cherub at my favorite thrift store last spring.  He was a sickly worn-out verdigris.


He's been in my craft studio all summer while I decided what color to paint him.  White?  White with a brown glaze?

When I decided he was going to go into the dining room for autumn, I decided he needed to be bronze to stand out against the light walls.


I think he's a handsome little guy now.


Did I make the right choice with the bronze?


I'm linking up...

Monday, October 10, 2011

Eat Your Vegetables

Just as I promised myself, the quilt is all finished except for binding the edges.  Whoo hoo!

Summer has returned to the Midwest, so I'm giving myself a little break from the quilt while the heat lasts.

I have a new addition to my Etsy shop:


We all need a friendly reminder to eat our vegetables, right?

And if you are a fan of fresh vegetables, I also have this handpainted sign:


And my personal favorite:


This little piggy has been included in 16 Treasury Lists.  SIXTEEN!

This little piggy needs a good home.

He'll make you smile everyday.